The Basics of Wood Carving - Everything You Need to Know
In a world of mass production and instant gratification, true craftsmanship stands out. Taking a piece of wood and shaping it into art, tools, or even toys for kids is both fulfilling and a great way to create an heirloom that has a lot of love and time poured into it.
There are four types of wood carving and the same tools aren’t necessarily used for each. So, to begin, you’ll need to decide the style of carving you’d like to try.
WHITTLING
Whittling is done with a carving knife and is one of the older styles of wood carving. You carefully shave small pieces of wood off the workpiece. When the work is done you can see the strokes of the knife rather than a smooth and sanded surface. It’s important to note that while carving knives do look like a standard folding pocketknife, not all pocket knives are good for whittling. At Keim, we carry Flex-Cut knives, which are handcrafted in Erie, Pennsylvania.
- Make sure your knife is sharp. Consider protective gloves to be safe.
- Straightaway rough-cutting - This cut will give you the basic outline for your project. Make long sweeping cuts with the grain that go away from your body.
- The push stroke (thumb push) - This cut is used to start shaping your project. The thumb of your non-cutting hand provides the power to push on the back of the knife. Your cutting hand directs the knife to create small and smooth cuts.
- The pull stroke (paring cut) - This is another cut used for control and detail. Bring the knife toward you with the grain and use the thumb of your cutting hand as a clamp at the end of the wood.
Types of Projects: Wooden animals, Utensils
Recommended Wood: White Pine, Basswood, Balsa
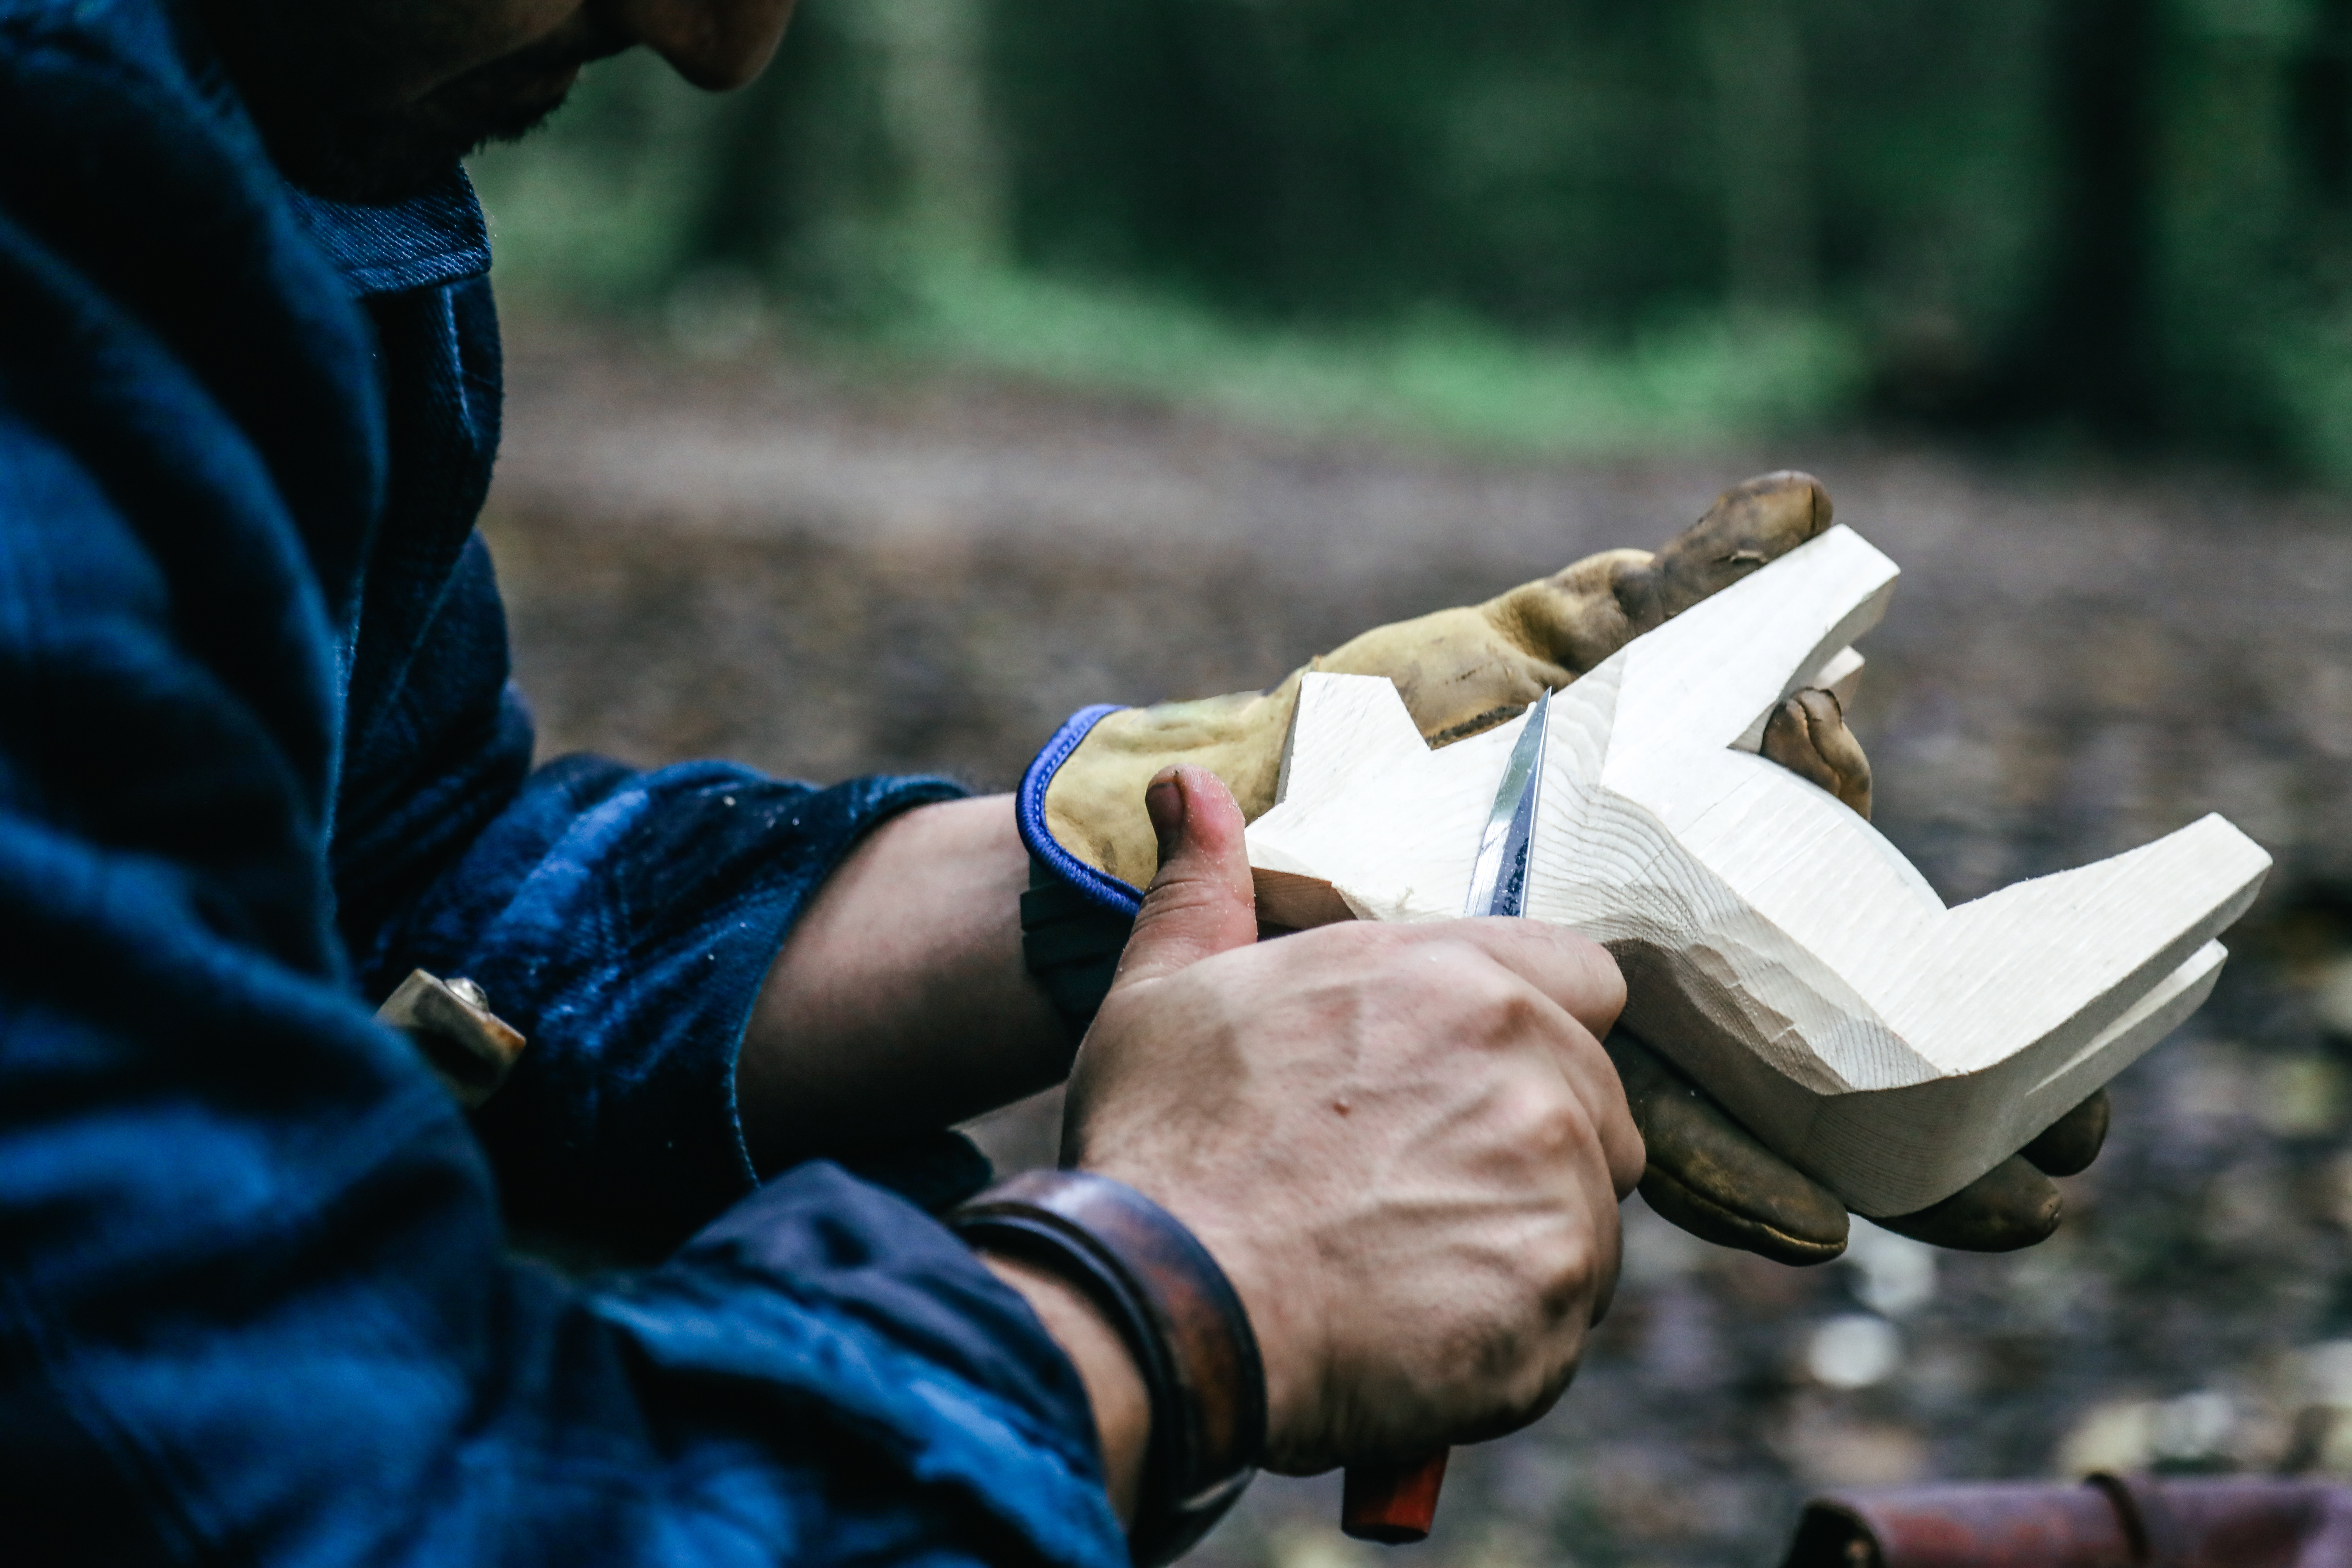
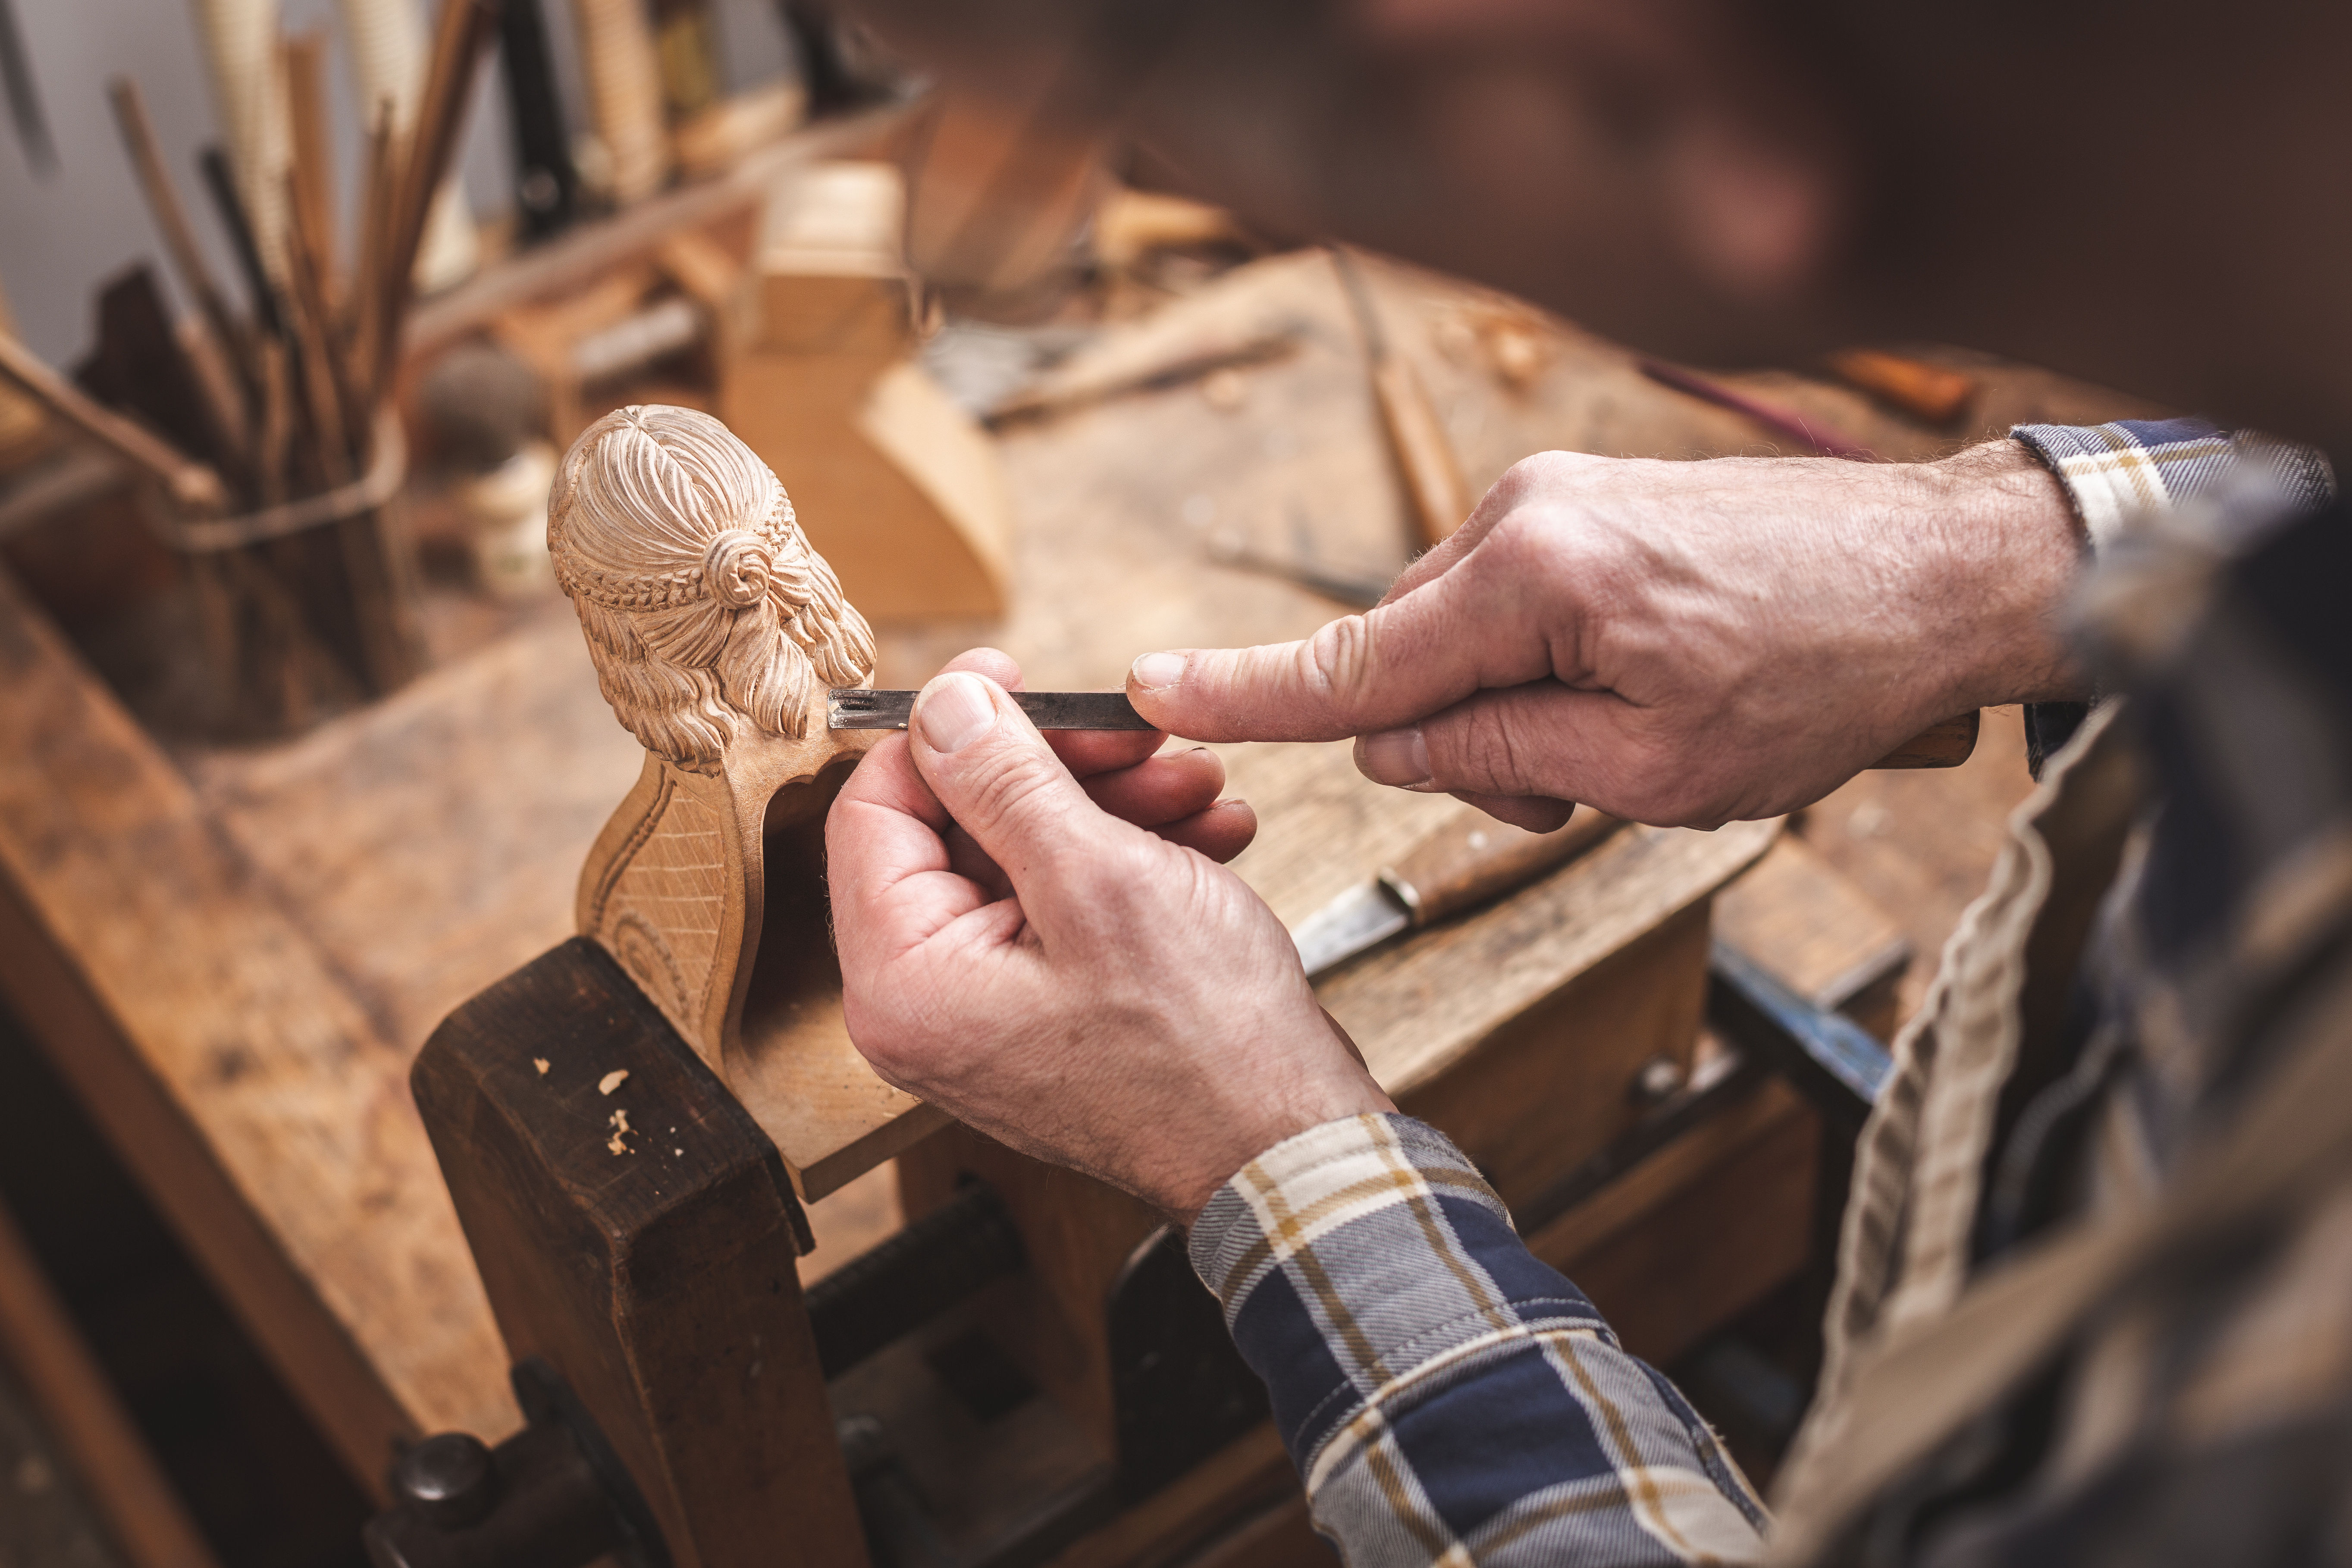
CARVING IN THE ROUND
When carving in the round, you’ll be using the wood in its entirety and it typically has a very lifelike texture. These projects could be large or small, painted, stained, or left natural. This type of wood carving requires more hand tools like gouges, chisels, and even certain power tools. These are realistic three-dimensional carvings and you can get as creative as you want!
Carving in the round is the most difficult way to carve, but that doesn’t mean you shouldn’t give it a shot! Here are the basics:
- Find a solid piece of wood that will fit the dimensions of your carving.
- Draw up your design. It doesn’t need to be artistic; you’re simply marking the dimensions of the carving on all 6 sides of your wooden block.
- Trace your drawing onto all sides of the wood.
- Remove all wood that is between the outline of the carving and the edge of the block.
- This next stage requires a lot of patience. You’ll now complete the outline of the carving.
- Add details by using tools to smooth the surface and add other details for a more realistic look.
- Apply finish.
Types of Projects: Cutting boards, Musical instruments, Wooden statues
Recommended Wood: White Pine
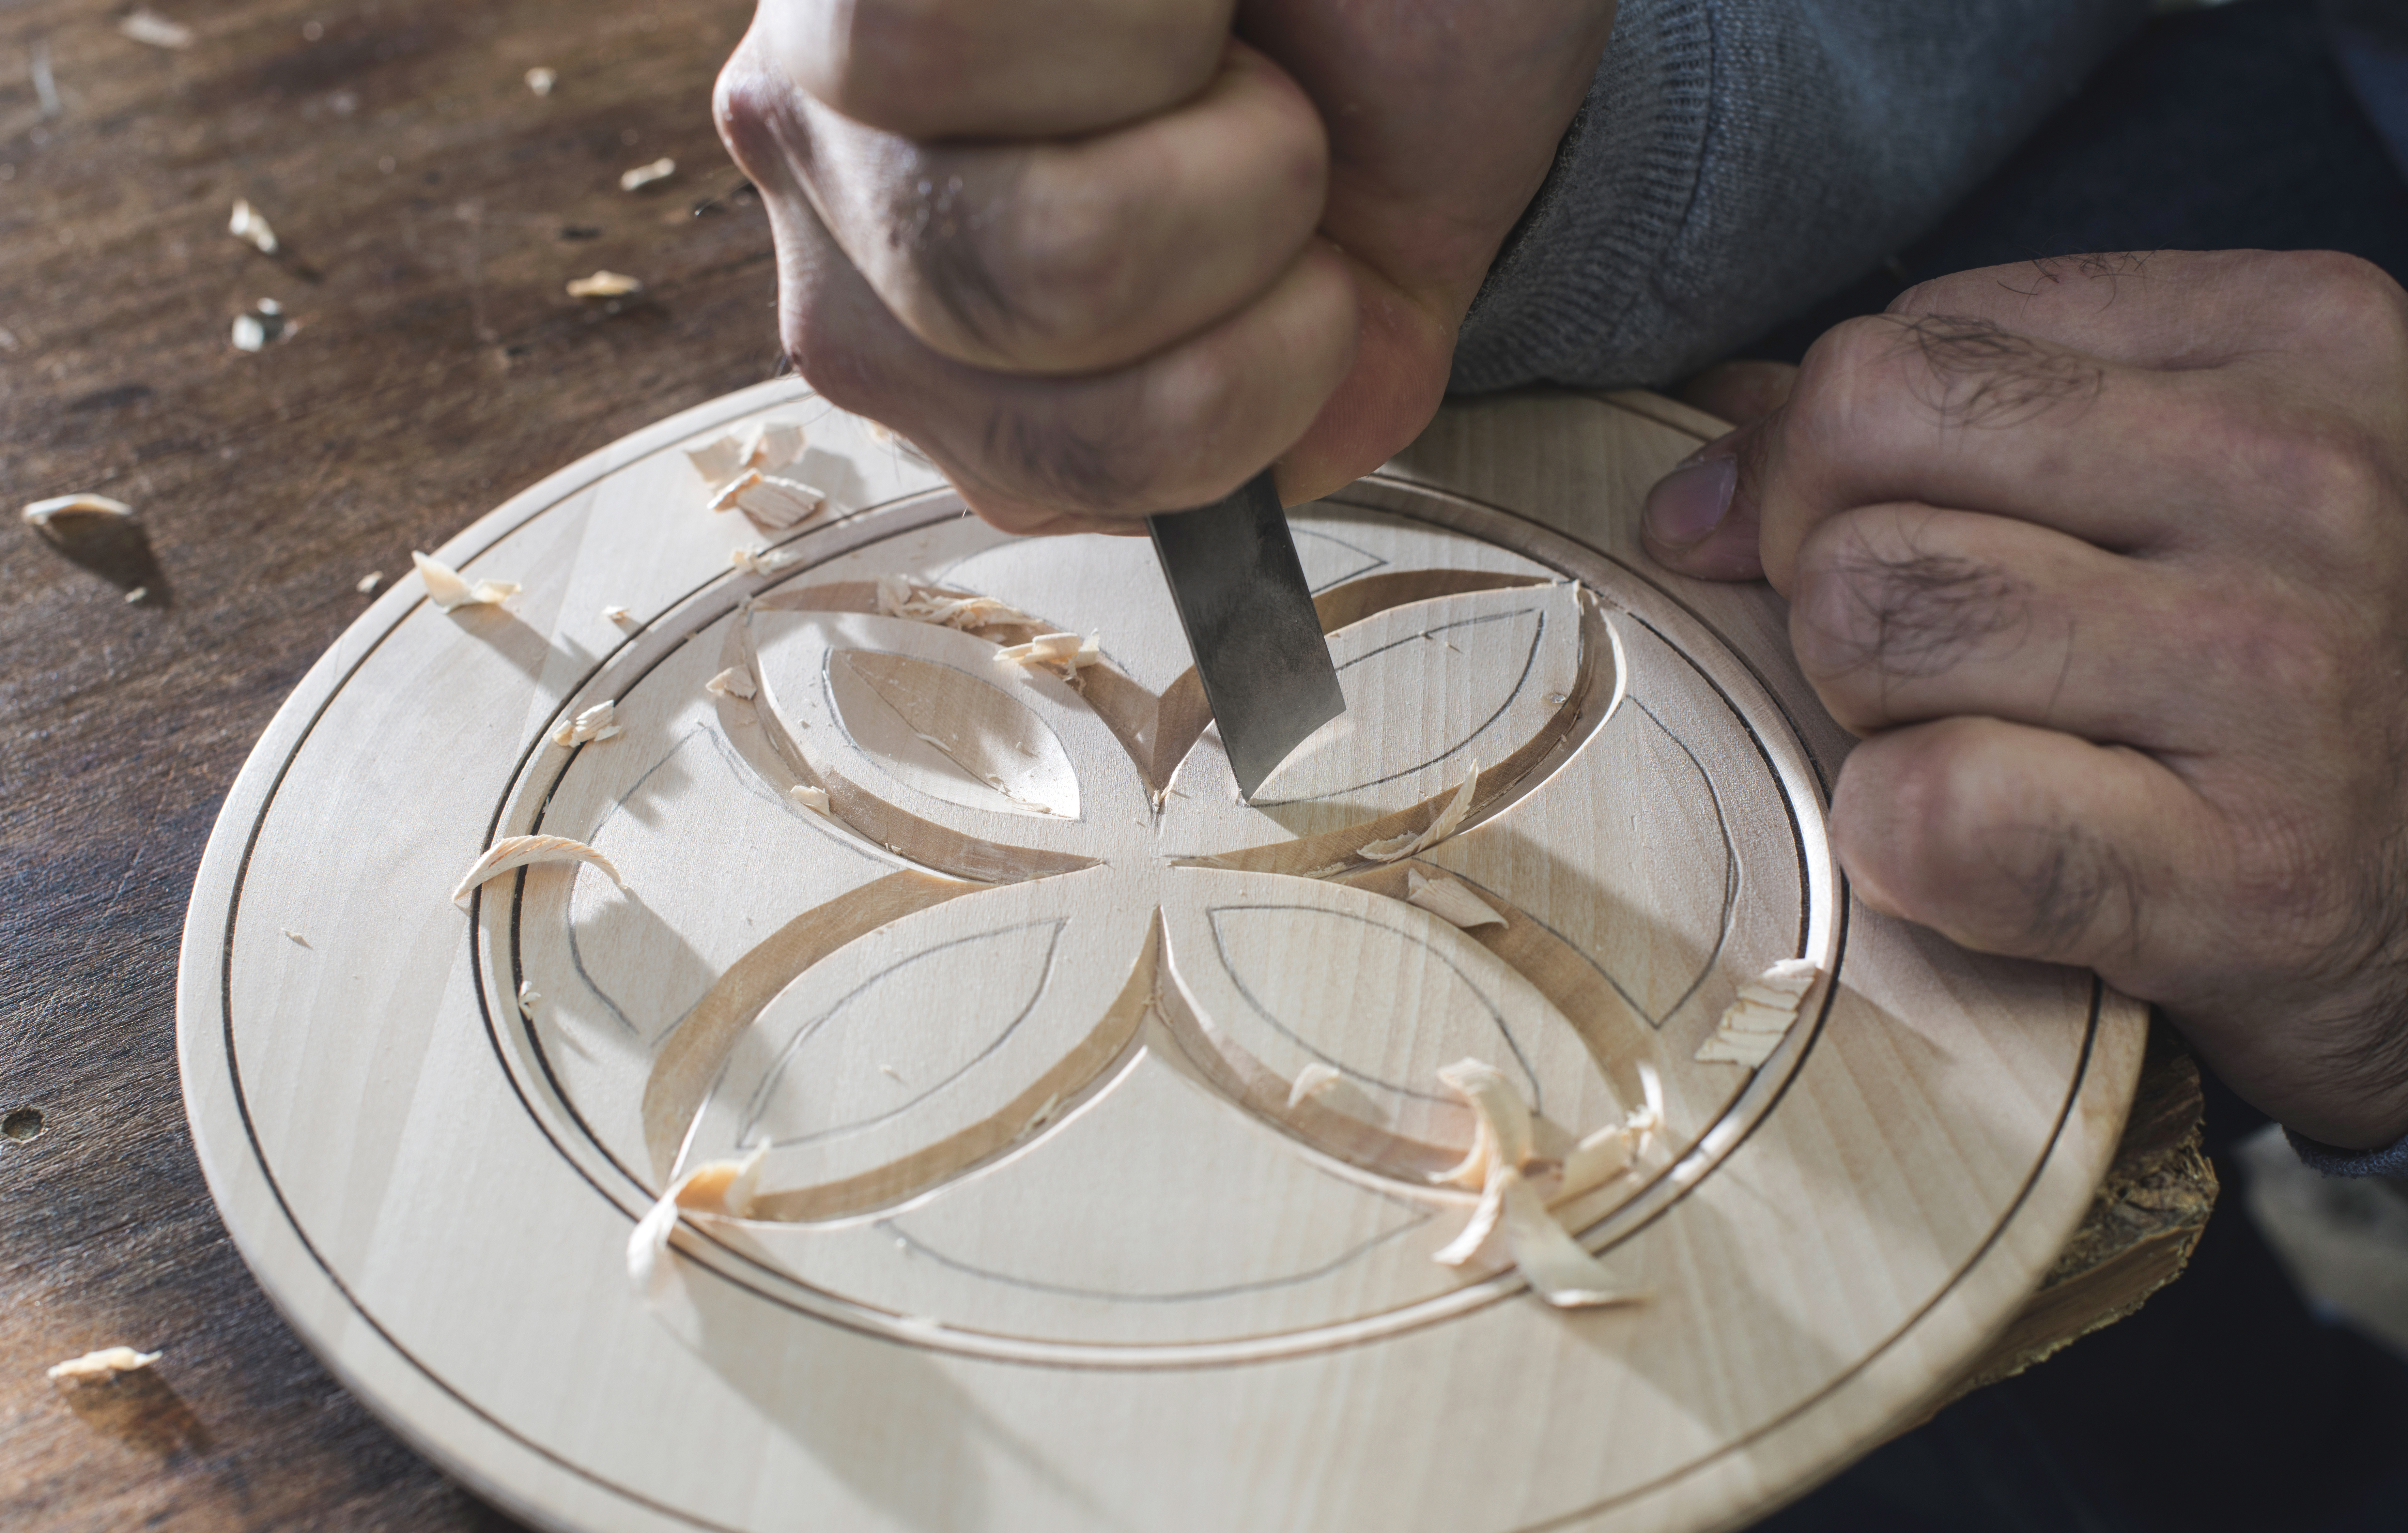
RELIEF CARVING
Relief carvings have a flat back and an image is carved onto the front surface in three dimensions. Most relief carving is done with the previously mentioned hand tools, but you can use power tools as well for some of the larger surfaces.
-
Find or create a pattern.

-
Set up the piece of wood you’ll be using with wood clamps so it can’t move.
-
Transfer your pattern to the piece of wood.
-
Use a mallet and chisel to outline the template.
-
Outline the depth of the template.
-
Add details.
-
Even out the background.
-
Sand out details and background for a smooth finish.
Types of Projects: Crests, Scenes, Signs
Recommended Wood: Mahogany, White Oak, Basswood
Types of Projects: Decorate boxes or chests, utensils, or furniture
CHIP CARVING
For chip carving, you’ll need a chip knife to remove chips of wood. This is one of the simplest forms of carving, but also one that requires the most precision and practice.
-
Apply a pattern - you can print out a pattern you like and transfer it to the wood by pressing it face down with a hot iron.
-
Start chipping away - cut with the grain and don’t cut too deeply. Then remove large chips in stages
-
Finishing - Sand for a smooth finish and seal!
Recommended Wood Types: Basswood, Sugar Maple, Black Walnut,
Ready to get started? Keep your eye out for upcoming woodworking classes at Keim.