What You Need to Know About Epoxy
Whether you’re just getting started or are a seasoned woodworker, working with epoxy can be an exciting new challenge. There are endless opportunities for DIY style projects or creating functional and beautiful pieces that you will pass down for generations. Epoxy is one more material to add to your toolbox that will, no doubt, take all of your pieces to the next level.
Epoxy is a material that cures within hours of being mixed, and can then be cut, sanded, and polished. It’s both practical and artistic. Using epoxy takes a bit of practice but becomes easier over time. It also has a wide range of uses!
Ways to Use Epoxy Resin
1. Filling and Repairing Wood
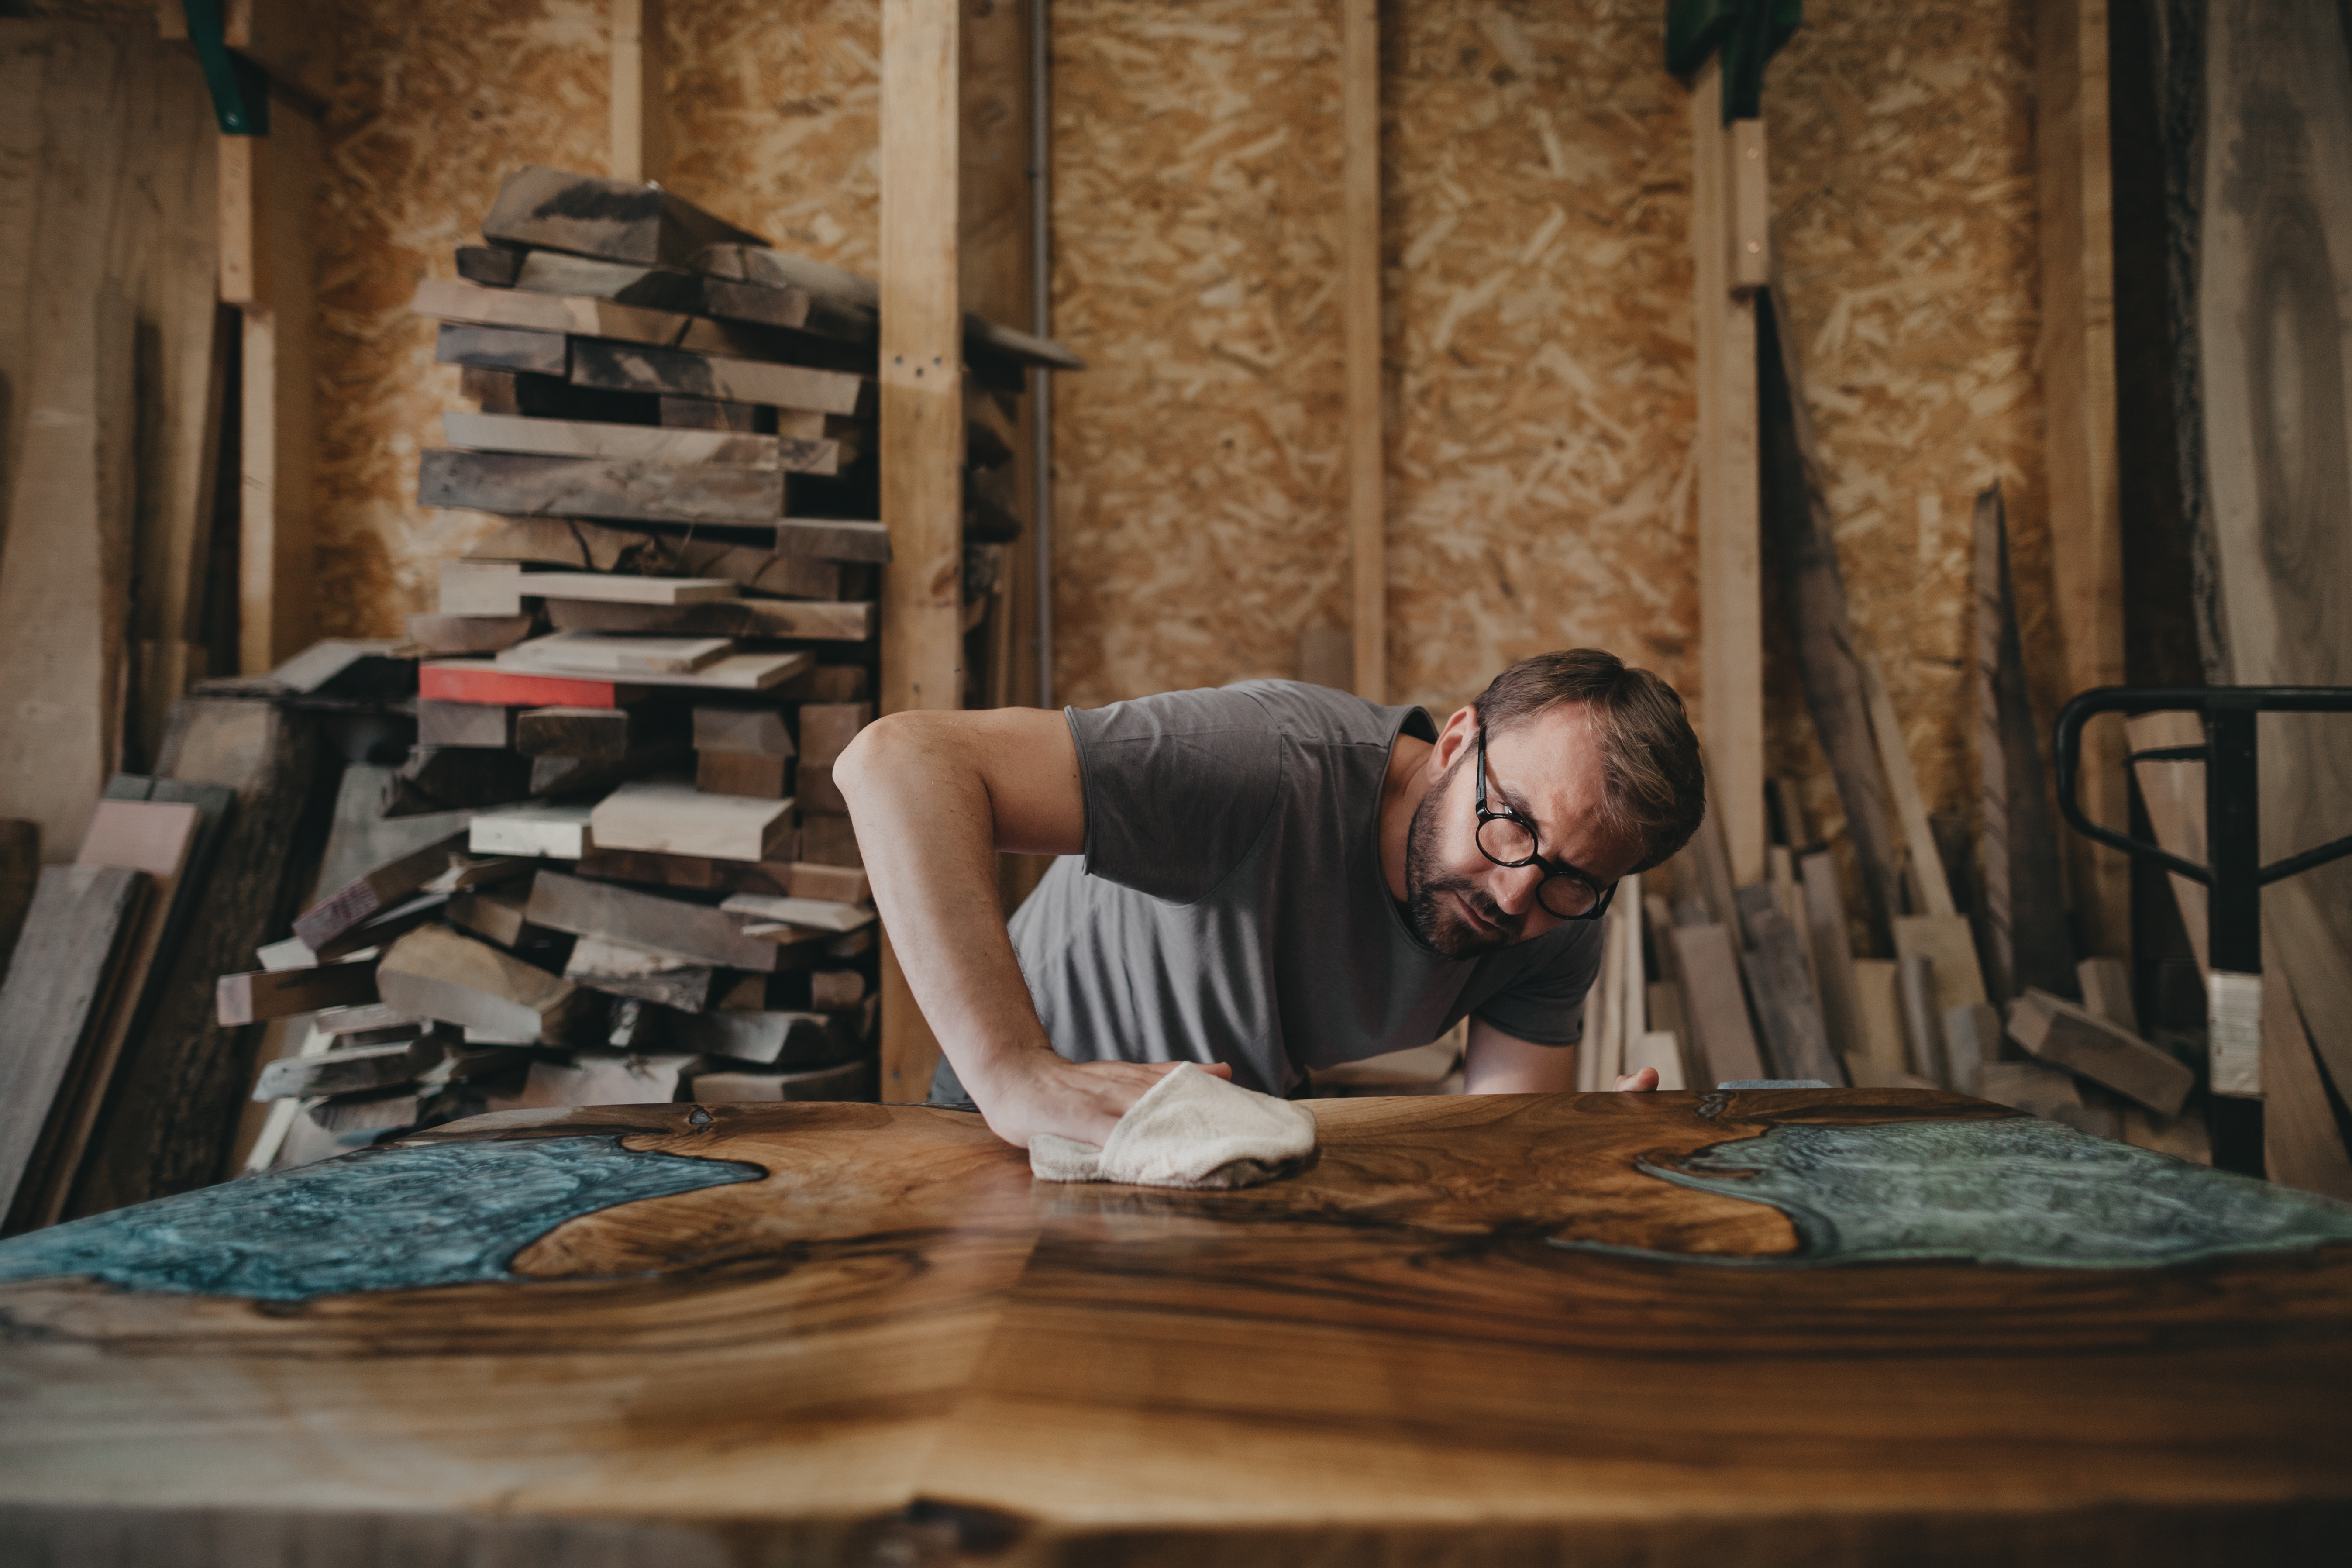
This is a great way to highlight the character of live edge or burls. Simply fill in the knots with resin to make a smooth surface with a lot of character. If you're looking for the perfect slab, be sure to look at our online woodshed. (We ship nationally.)
2. Epoxy Resin Art
At Keim, we carry the full line of Ecopoxy products, which includes 44 colors of dye, glitter, and metallic powders. These can be mixed with epoxy to create interesting pieces of art both on and off the wood.
3. Sealing Wood
Epoxy resin is a great sealant for wood and the perfect waterproofing material as well. Use it for sealing a tabletop, cutting boards, wood flooring, or furniture! The options are endless.

How to Use Epoxy Resin on Wood
1. Prepare the Wood and Form. Before coating with epoxy, the wood should be sanded and free from dust and dirt. If you want to make a table out of epoxy resin, build a form, according to the size of tabletop you’d like. Then use Tyvek tape to cover the entire area around the form, and silicone caulk in the corners to prevent the epoxy from leaking onto the floor.
2. Mix the resin. Epoxy includes the resin and the resin hardener, which must be mixed before use. Epoxy is a chemical reaction, so mix epoxy according to the directions on the packaging. (Each brand’s instructions are a little different.) Be sure to wear gloves so your skin doesn’t come into contact with the fluid.
3. Pour the epoxy over the wooden surface.
4. Remove air bubbles with a hot air gun or a torch.
5. Wait. If you are using the Ecopoxy brand, wait 72 hours before sanding and polishing the resin surface to be safe. It may seem cured on top, but under the surface can still be too soft. Sand epoxy with a fine-grain sander.
6. Polish the surface with fine-grit sandpaper to remove any marks present. If you want to bring your work to the highest level, try wet sanding and buffing.
7. Shine it up. Use a high-quality wood oil to give it the final treatment! We like the ease and quality of Odie’s Oil.
Pro Tip: Before you attempt large objects and surfaces, begin by practicing with a test piece to get a feel for the process and how to handle the product.
Watch this video and check out our project center for more resources and tips on using epoxy or visit our store for more hands-on help!